Adding Buttons to a Shared or Variation Panel
To add a button to a shared or variation panel:
-
Select Theme Modelling from the Aztec Start Page
-
Click Shared Panels
-
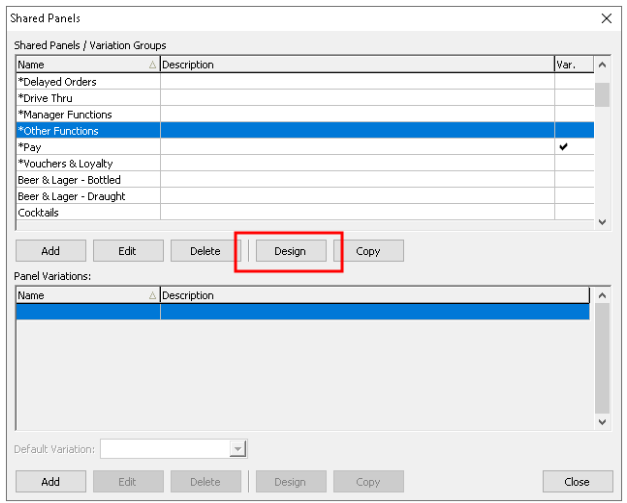
The shared panel window will be displayed.
-
Select the required Shared Panel or Variation, and click Design
-
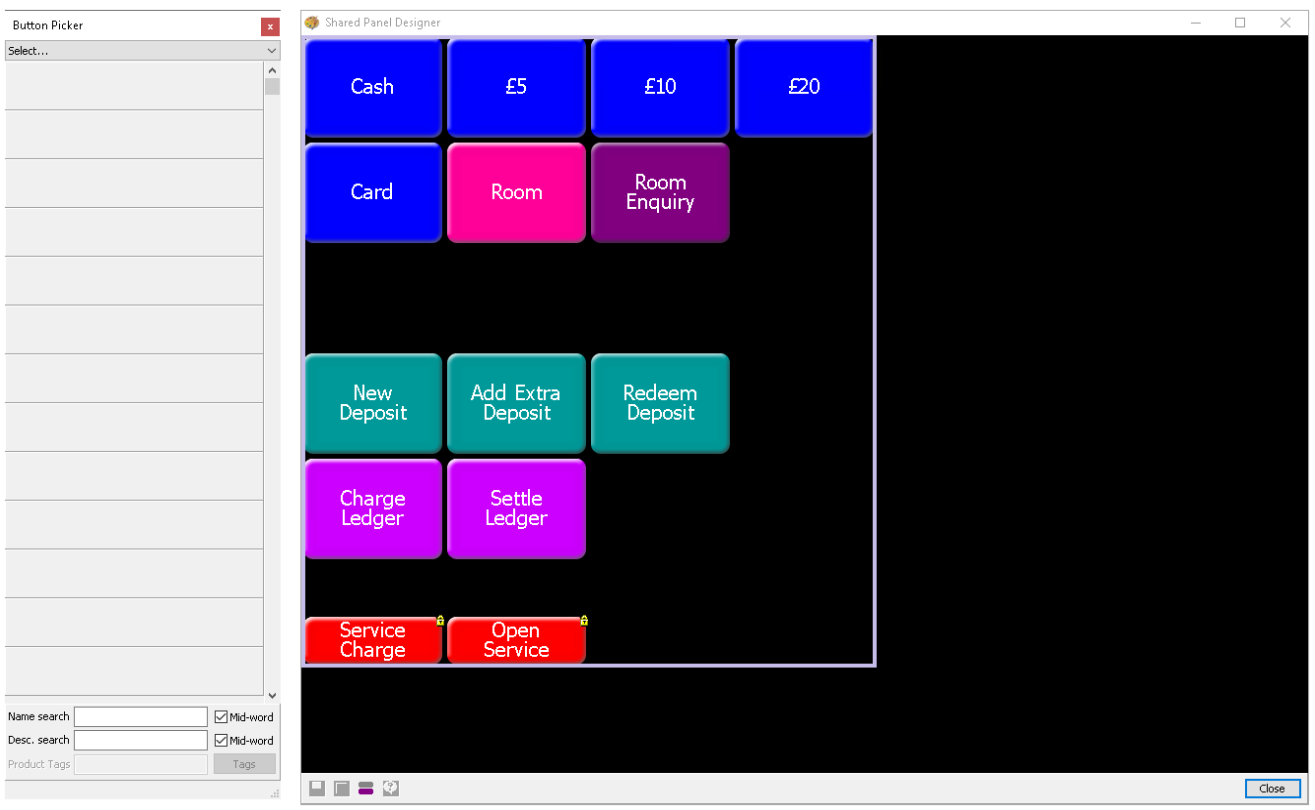
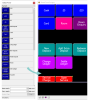
The Shared Panel Designer and Button Picker will appear on screen.
If the button picker is not shown click the button picker icon (grey and purple icon)
Each Shared Panel Design has a different look and arrangement of buttons so what is shown below may be different to your system but the function to add buttons remains the same
-
The button picker is divided into various folders where all buttons are stored. Navigate to the required folder by clicking the plus or folder icons to find the button (the search option at the bottom of the button picker can also be used if there are a large number of buttons in the selected folder)
-
Information on each Product Folder:
-
Products - all products by sub-category
-
Instructions - products setup as an instruction
-
Other Lists:
-
Payments - all payment methods
-
Correction - correction methods (note these can only be added to a correction panel)
-
Select Portion - portion buttons
-
Apply Tax - tax and service charges
-
Apply Whole Amount Discount - discounts that are to apply to the whole account (note these can be added to any panel)
-
Apply Single Item Discount - discounts that can only apply to a single product (rather than the account, note these can only be added to a correction panel)
-
Select Order Destination - order destination buttons
-
Change Order Destination - buttons to change the order destination
-
Drive Thru - buttons for use in Drive Thru configurations
-
Macro - buttons that are designated a macro function
-
SOAP Function - buttons that are configured for SOAP actions, web pages / other non-core applications
-
iZone - buttons are configured for use with POS Integration Engine applications, eg loyalty, gift cards, vouchers, hotel systems
-
Delayed Orders - functional buttons for use when creating delayed orders
-
ZCPS - functional buttons for use for particular integrated card payments (note these are separate to the payment method buttons used to start a transaction)
-
Hotel Revenue Centre - buttons that are designated for use when revenue centres are configured
-
-
Panels: (note clicking on the panel folder will provide the "Close", "Text Label" and "Site Panel" buttons)
-
Open Panel - all local or shared panel buttons
-
Open Table Plans - all table plan buttons as defined within the "Theme Table Plans" as shown in step 3 above
-
-
Functions:
-
Ordering - buttons related to the ordering process on the POS
-
Staff - buttons related to team member activities on the POS
-
Reports - all report buttons
-
Other - any other function that is used on the POS not related to another folder
-
-
-
Click the required button and drag on to the shared panel
-
Once the button has been added the following can be adjusted:
-
Position - adjust the position by dragging the button around the screen (in blank space)
-
Size - use the toggles to drag and re-size the button
-
Right Click - change the colour, font size, security roles
-
-
When all buttons have been added click the Save icon (disk icon)